-
- Previous
- Next
Getting Started
Control Room
Customer Detail Screen
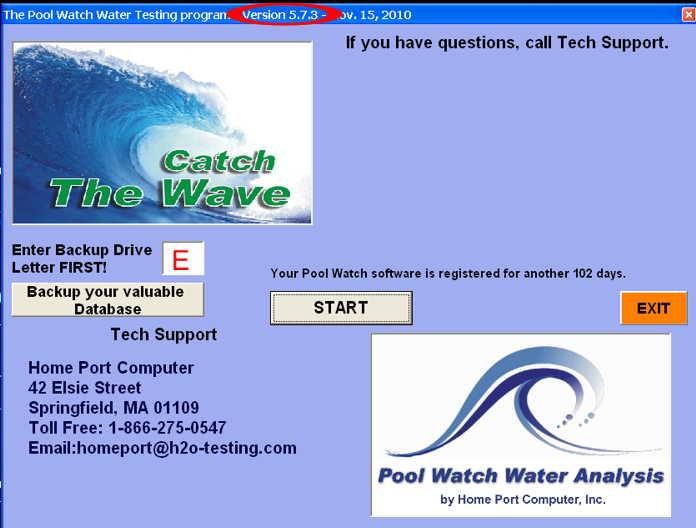
Launch the Pool Watch program by double clicking on the "Pool Watch Water Testing" icon  on your desk top. The start screen contains the current version, and a backup procedure for copying your customer data base. A USB thumb drive is recommended for this procedure.Enter the drive letter (E in this case), and next click "Backup Data Base". It is recommended your data base be backed up on a regular basis.
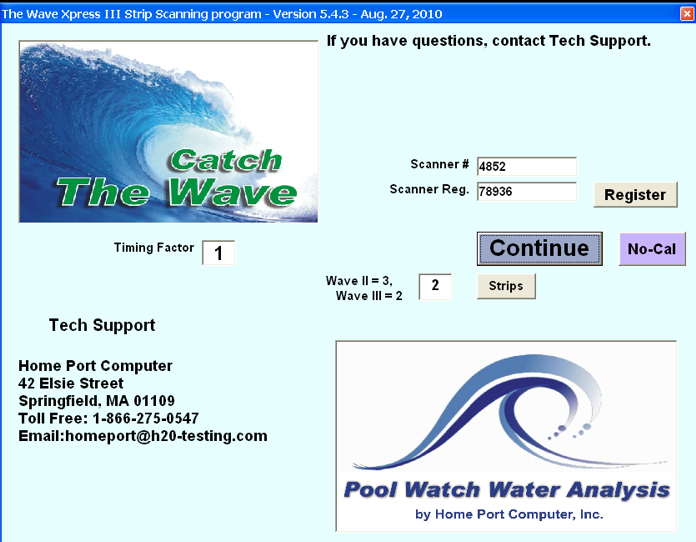
Next click on the "Start" button and the scanner information start screen will appear. This screen contains the scanning module version number, the scanner registration code, the Wave scanner type, and strip selection. Your Home Port tech can adjust and recalibrate your scanner if necessary. Click the "Continue" button to begin testing.
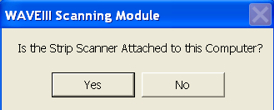
The first windows confirm you have a scanner attached by clicking on the "Yes" button. You may abort the scanner initialization by clicking "No".
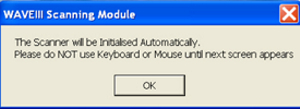
Click "Ok" on the next screen.
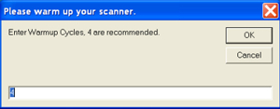
Next appears a scanner warm up screen. This is used at the beginning of a new testing day to bring the scanner sensor up to operating temperature.
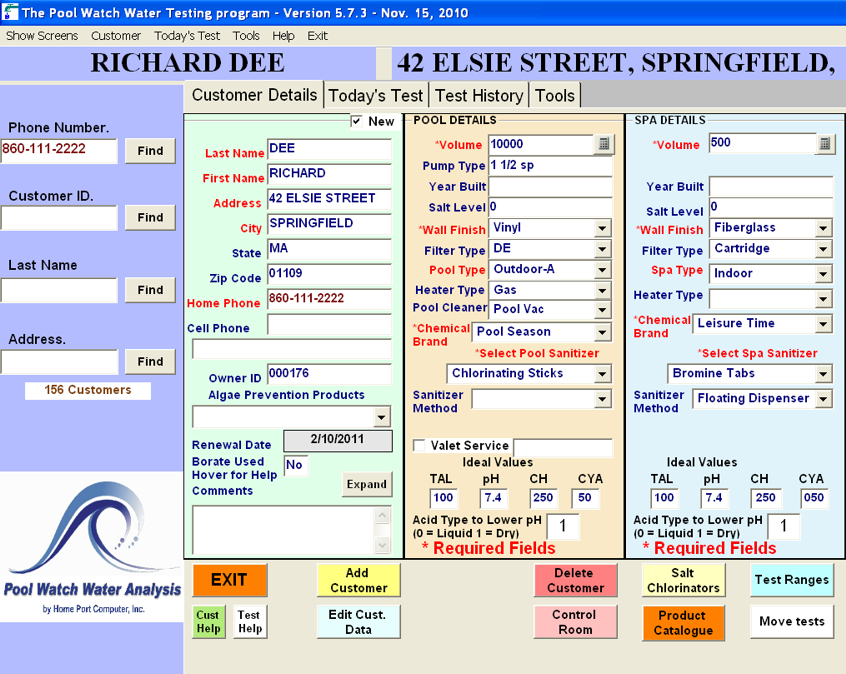
This is the Main Screen of the program.
The Customer Detail Screen. Contains all the customer information, pool& spa, and gateways to all the customizing features within the Pool Watch software.
Control Room
The "Control Room" contains features of the program which may be customized by the user. To access, click on the "Control Room" button at the bottom of the "Customer Details" screen.
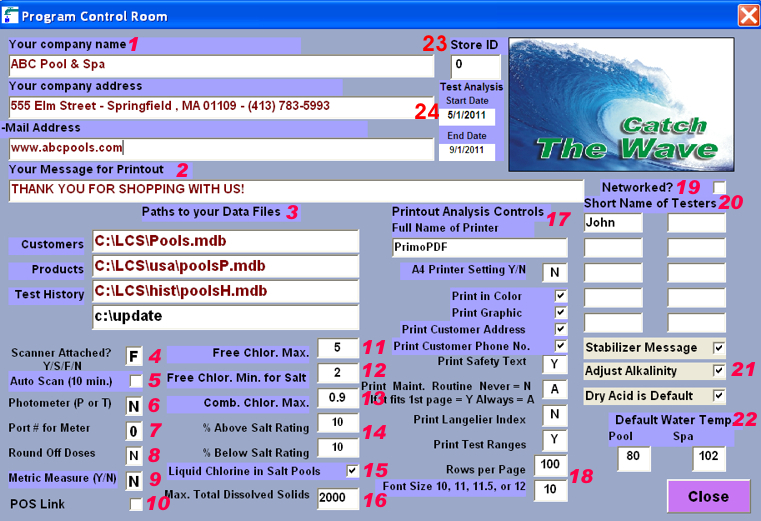
1. Dealer "Name, Address", etc., which will print at the top of the printout.
2. "Dealer Message for Printout" can be added to the bottom of the printout alerting your customers about "specials" or thanking your customers for their business.
3. "Paths to our Data Files" shows where the customers data base(pools.mdb), products data base (poolsP.mdb) and history data base (poolsH.mdb) are located.
4. "Scanner Attached" by entering: (Y not used), S = Wave Xpress (white scanner), F = Wave III (black scanner), N = no scanner.
5. "Auto Scan (10 min) - n/a
6. "Photometer (P or T)" will allow communication with a Palintest or Tintometer meter to communicate with the Pool Watch Software.
7. "Port # for meter" com port where the photometers are connected to.
8. "Round off dosages" rounds off dose up or down to whole units.
9. "Metric Measure (Y/N)" changes the dosage unit of measures from US, to metric units (kilos, liters etc). Only for use in countries on metric system. The chemical product line also must in metric units of measure.
10. "POS Link" activates the sharing of customer data base information with the RMS point of sale system.
11. "Free Chlorine Max" - ppm value when a dosage of a chlorine reducer is called for.
12. "Free Chlorine Min for Salt Max" for salt pools. Sets the target for chlorine level in salt pools. If chlorine level is below .5 ppm, a shock dose will be called for. Levels from .6-1 ppms will dose to 2 ppms.
13. "Combined chlorine" maximum level before break point chlorination is recommended.
14. "Salt Rating " - % above the recommended level and % below the recommended level to calculate the acceptable ranges of salt. (recommended salt level of 3000 ppms, a 10% high range, 300 and 10% low range, 300, would be 3300 - 2700)
15. "use Liquid Chlorine as a shock treatment in a Salt Pool or Spa" (see #6)
16. "Max Total Dissolved Solids" reading before treatment is required.
17. "Printout Analysis Controls":
- "Printer Name". The default printer will automatically be assign here. If the is displayed printer is not the default, erase the incorrect printer name in the box, and re-start the program. Other printer options are:
- "A4 Printer Setting Y/N" for use in countries which use the A4 format as the default paper size).
- "Print in Color", logo, & product names will be in color when using a color printer.
- "Show a Graphic" (you may have your store logo) on the printout, etc.
- "Print Customer Address" on printout,
- "Print Customer Phone No." on print out.
- "Print Safety Text" prints a message on the printout explaining the safe use, handling and storage of pool/spa chemicals.
- "Print Maintenance Routine": N = never prints the weekly maintenance for a particular sanitizer. Y = prints the maintenance only if the printout can fit on a single page. A = always prints the maintenance.
- "Saturation Index" (Langelier index) is a calculation of pH, alkalinity, hardness and temperature to determine if the pool water is base (positive value) or acidic (negative value). A range of -.2 to + .2 is balanced.
- "Print the test ranges" on the printout (100-150, 7.2 - 7.6, etc.)
18. "Page Setting"
- Rows per Page" sets the number of rows, of text, needed to fill one page on the printout.
- "Font Size" sets the type size on the printout. These two settings must be adjusted together (the larger the font size, the number of rows must be reduced. The default setting of 100 rows and 10 pt. font size should be maintained).
19. "Networked?" should be checked if and only the networking of two are more water test stations are sharing one customer data base.
20. "Testers Names" who perform water tests. The names can be chosen at time of testing, which will display on printout.
21. Special Features:
- "Adjust Alkalinity" will deduct 25% of the stabilizer test reading from the alkalinity test results.
The adjustment is only applied if the cyanuric acid (stabilizer) tested at 40 ppms or above and the total alkalinity is 60 ppms and above.
The adjustment will be applied whether the test results are entered manually or obtained from scanning.
- "Stabilizer Message" will display if the pH or alkalinity readings are too high or too low out of range. The stabilizer test pad is sensitive to the pH and alkalinity and may not developing properly because the water is acidic or alkaline.
- "Muriatic Acid" - If "Dry Acid" is checked then all customers will default to use "sodium bisulfate" to lower pH and alkalinity. If unchecked then "muriatic acid" will be the default. However each individual customer may be set to use either.
22. "Default Water Temp" for pools/spas. Used in the calculation of the "Saturation Index".
23. "Store ID"is used to identify which store location performed a specific water test. The "ID" appears on the printout.
24. "Start Date & End Date" determine the period used to summarize the number of tests performed. The default dates for US are May 1 (5/01/yyyy to Sept. 1 (9/01/yyyy).
 on your desk top. The start screen contains the current version, and a backup procedure for copying your customer data base. A USB thumb drive is recommended for this procedure.Enter the drive letter (E in this case), and next click "Backup Data Base". It is recommended your data base be backed up on a regular basis.


